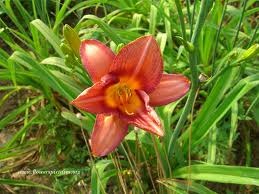

Daylilies are hardy, disease resistant plants that few garden pests eat. They are forgiving and take well to most climates and soil types. Even with these advantages, you may occasionally have to replace some dead daylilies in your yard. You can replace them any time during the growing season, though most gardeners prefer to do it in the late summer, so the roots establish themselves before winter.
- Difficulty:
- Easy
Instructions
Things You’ll Need
- Spade
- Hand rake
- 2 garden forks
- Dig the roots of the dead daylily out of the ground with a spade.
- Use a hand rake to pull mulch away from the base of the plant, and a garden fork to gently pry the soil around the plant up. Pull the base of the plant up and the root ball out.
- Hold two garden forks back to back and push them into a weak area in the roots from the top of the daylily. Push the handles apart to separate the roots. If the separated roots are still large clumps, you can repeat this step again.
- Replant a separated root clump in the hole from the dead daylily as a replacement, and replant one in the hole you removed the separated clumps from. Plant the other roots in any other places you want daylilies in your yard.
- Water the freshly planted daylilies thoroughly. Cut back the leaves on the top of the daylilies to twelve inches long so the plant retains the moisture better and allow your replacement and new daylilies to grow.
Tips & Warnings
-
Many garden centers guarantee their plants for a year, so with a receipt you may get a refund or a replacement, if you take the roots back to the center with you. You can use this replacement instead of dividing another daylily in your yard.
Deprecated: strpos(): Passing null to parameter #1 ($haystack) of type string is deprecated in /home/agriviek8Qv/agriviet.net/public_html/wp-includes/comment-template.php on line 2522